

How to Adjust Muff Waders Suspenders for Maximum Comfort and All-Day Support
We’ve heard from countless customers who struggle with suspender adjustments on their first few outings — straps digging into shoulders, waist slipping, or uneven weight distribution that makes a long day in waders feel twice as long. The good news is that once you understand how muff waders suspenders are designed to work with your body, dialing in the right fit takes just a few minutes.
This guide walks through each adjustment point on our suspender systems, explains what you’re trying to achieve at each step, and covers the common mistakes that lead to discomfort. Whether you’re setting up a new pair or troubleshooting an existing fit, these techniques will help you get the most out of your gear.
Understanding the Three-Point Adjustment System
Our suspenders rely on three adjustment zones working together: shoulder strap length, back cross-point height, and front attachment angle. Most discomfort comes from adjusting only one zone and ignoring how it affects the others.
Start with the shoulder straps at a neutral mid-length position — roughly centered in the available adjustment range of the sliders. The back cross-point should sit between your shoulder blades, not up near your neck or down at your mid-back. Front attachments should angle slightly outward from the chest, following the natural line of your torso rather than pulling straight down.
Once all three zones are in a reasonable starting position, you can fine-tune from there. Trying to fix everything by cranking down one strap creates uneven tension that migrates the problem rather than solving it.
Setting Shoulder Strap Length for Even Weight Distribution
Shoulder strap length determines where the wader weight sits on your frame. Too short and the straps dig into the top of your shoulders, concentrating all the load in one small area. Too long and the waist of the waders sags below your natural waistline, forcing you to hike them up constantly.
Put on the waders and fasten the suspenders loosely, then stand in your normal posture. The waist seam of the waders should rest just above your hip bones — not riding up under your ribs and not sagging down toward your thighs. Adjust each shoulder strap equally, checking after every half-inch of movement.
Many people make the mistake of tightening one side significantly more than the other to compensate for how they carry weight. This creates a twist through the back panel that shows up as discomfort hours into the day. Keep the adjustments symmetrical and let your body settle into the even distribution.
Dialing In Back Cross-Point Height
The back cross-point — where the two shoulder straps meet and attach to the back of the waders — controls how the suspension load transfers across your upper back. If it sits too high, the straps pull inward and create a pinching sensation at the base of your neck. Too low and the straps splay outward, causing them to slide off the outer edges of your shoulders.
The ideal position is a hand’s width below the base of your neck, centered between your shoulder blades. Most of our men’s models and women’s models include a sliding adjuster at this junction that lets you raise or lower the cross-point without re-threading the entire system.
Once you’ve set the height, test it by shrugging your shoulders and leaning forward as if reaching for something on the ground. The straps should stay in place without shifting up toward your neck or sliding down your back. According to the general mechanics of suspender design, proper cross-point positioning distributes tensile load evenly across the trapezius muscles rather than concentrating it at the neck or outer shoulder.
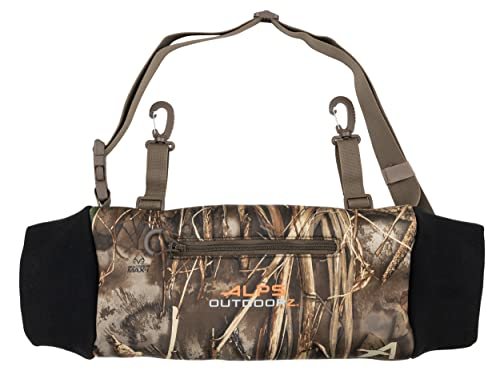
Adjusting Front Attachment Angle and Tension Balance
The front clips or buttons determine the forward pull angle and how evenly tension distributes between the chest and back. If the front attachments sit too close together, they pull the wader chest tight and create a binding sensation when you bend or twist. Too far apart and they lose mechanical advantage, forcing the shoulder straps to carry more weight than they’re designed for.
Attach the front clips to the outermost compatible points on the wader bib that still feel secure — usually the second or third button position counting inward from the sides. The straps should angle gently outward from each shoulder, not run vertically down the center of your chest.
Test the tension balance by raising your arms overhead and then bending at the waist. You should feel even resistance front and back, without the waders pulling down from behind or the bib panel lifting away from your chest. If one direction feels significantly tighter, adjust the corresponding shoulder strap length a quarter-inch at a time until the tension equalizes.
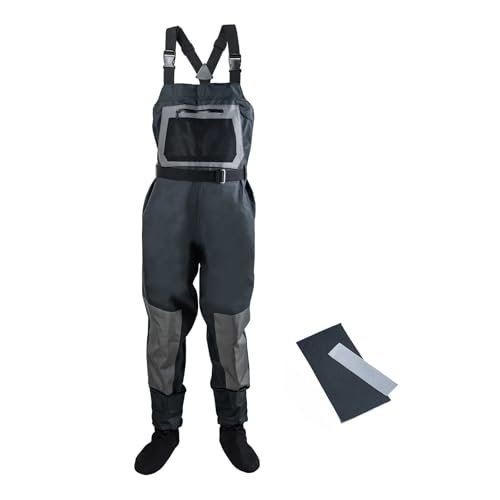
Fine-Tuning for Extended Wear and Activity Level
Initial adjustments done while standing still often need refinement once you’re moving through water, bending to retrieve gear, or spending hours on your feet. After your first outing with a new adjustment setup, note where discomfort appears and when it starts.
Shoulder fatigue in the first hour usually means the straps are too tight or the cross-point is too high. Waist sagging after several hours points to straps that are too long. Pain at the outer edges of your shoulders indicates the cross-point needs to come up slightly or the front attachments need to move inward.
Make only one adjustment at a time and test it for at least thirty minutes of normal activity before changing anything else. What feels perfect while standing in your garage often shifts once you’re wading through current or crouching repeatedly, so plan on two or three iterations before you land on the ideal setup for your specific body and usage pattern.
Getting the Fit Right Makes All the Difference
A properly adjusted suspension system transforms how waders feel over a long day. The difference between straps that dig into your shoulders after two hours and a setup you forget you’re wearing comes down to understanding how the three adjustment zones interact and taking the time to dial each one in.
Start with the foundational positions we’ve outlined — neutral shoulder strap length, back cross-point between the shoulder blades, front attachments angled slightly outward — then refine from there based on how your body responds during actual use. Most people find their ideal setup within two or three sessions once they know what to adjust and why.
If you’re still struggling with fit after working through these steps, reach out to our team. We can walk through your specific setup and help troubleshoot what’s causing the issue.
Notes
The straps should hold the waders firmly in place without creating pressure points. You should be able to slip two fingers between the strap and your shoulder with slight resistance but no real force needed. If the straps leave red marks after an hour, they’re too tight. If the waist drops below your hip line when you bend over, they’re too loose.
You can make most adjustments while wearing them, which actually helps you feel the changes immediately. Shoulder strap length and front attachment position are both accessible without removing the waders. The back cross-point adjustment usually requires a partner to help or taking the waders off briefly to reach the slider mechanism.
Yes, adding a heavy fleece or puffy jacket under the waders changes your torso thickness and shifts where the straps naturally want to sit. Plan to loosen shoulder straps by a quarter to half inch when adding bulk. The same applies in reverse when you strip down to a thinner base layer on warmer days.
Sliding straps usually mean the back cross-point is too low, which angles the straps outward past the edge of your shoulder. Raise the cross-point until it sits firmly between your shoulder blades. The second most common cause is front attachments positioned too far apart, which reduces the inward pull that keeps straps centered on the shoulder.
Height matters less than torso length, which is why our system has such a wide adjustment range. The wader waist should sit just above your natural hip line regardless of whether you’re five-four or six-three. If you’ve maxed out the adjustment range and still can’t get the right position, you may need a different wader size rather than fighting the suspender limits.
Yes, symmetrical adjustment is critical for even weight distribution and preventing the back panel from twisting. Most people carry weight slightly unevenly, but compensating by tightening one strap more than the other creates a spiral through the suspension system that shows up as discomfort over time. Keep the straps equal and let your body adapt to the balanced load.